
Module 3 · Your Logo, Part 2: Production Files (No Editor Required)
Background removal → SVG, free
Time to get the file that matters most: a clean, scalable SVG — the one that stays razor-sharp from a favicon to a billboard. You’ll walk out with a transparent PNG and a commercial-ready SVG, having paid nothing and opened no design editor. It’s a two-step, and the order matters.
A vectorizer traces whatever it sees. If your logo still has a white or colored background when you convert it, that background becomes a solid shape baked into your SVG. So the rule is: remove the background first, then convert the transparent version.
| Tool | Cost | What it does | Reach for it when |
|---|---|---|---|
| Kittl | Free (account) | Background-remove and vectorize in one place | Your default — start here |
| Adobe Express | Free (account) | Two quick tools, back to back | You already live in Adobe |
| Vectorizer.AI | $9.99/mo | The pristine-trace quality leader | Subtle gradients or fine curves |
| Recraft | ~$10/mo | Generates a native SVG — no tracing at all | You want to skip conversion entirely |
The primary path: Kittl’s free SVG Converter
Kittl’s free SVG Converter does both jobs in one place, and a free accountis all you need — sign in (or create a free account), upload, convert, download. Here’s the flow:
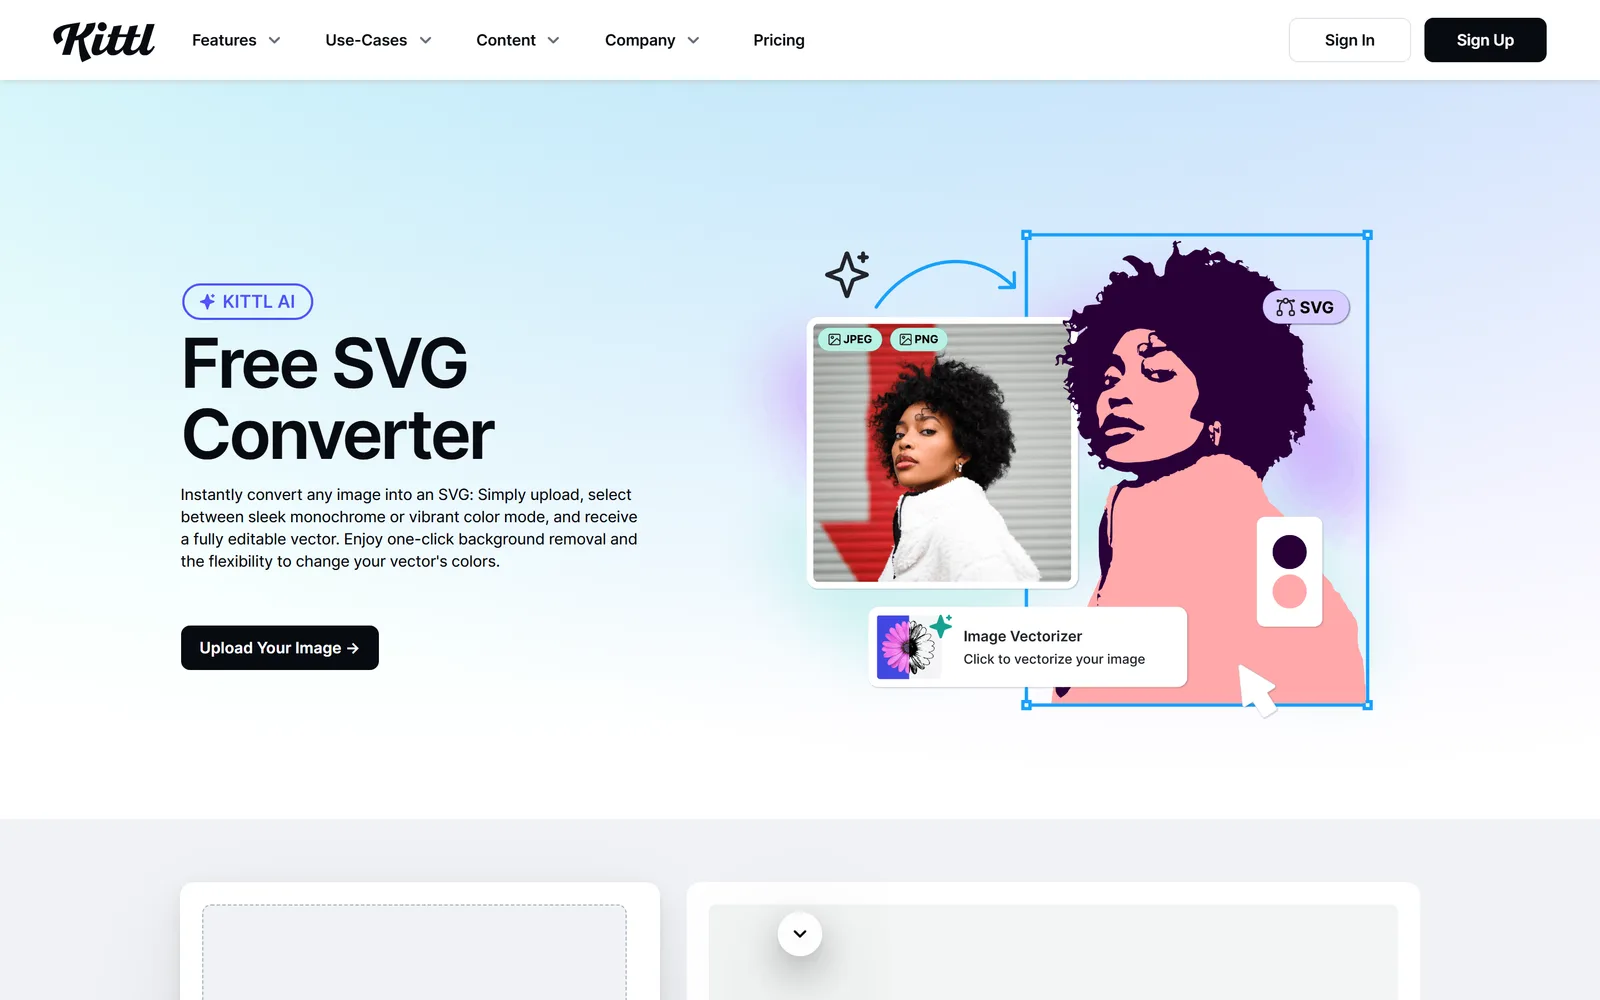
- Go to
kittl.com/tools/svg-converterand sign in with your free account. - Upload your image & remove the background — upload your final logo PNG; Kittl’s one-click background remover strips it to a clean cutout.
- Choose a color mode & convert — pick monochrome or full color, then convert. Fewer colors = a cleaner, simpler trace (there’s a color slider if you want to dial it down).
- Edit & download your SVG — tidy up if you like, then export the
.svg.
Same idea, slightly more room to tweak: click your uploaded logo on the artboard → Settings → Image Tools → AI Background Remover, then Vectorize, slide the color count down for a cleaner result, click Vectorize Image, and Export → SVG. It’s the nicest single-canvas flow if you want to nudge colors before exporting.
The backup path: Adobe Express (two free tools)
Prefer Adobe, or want a second option in your pocket? Adobe Express does the same job with two free quick-tools, back to back (a free Adobe account — “Continue with Google” — is all it takes to download):
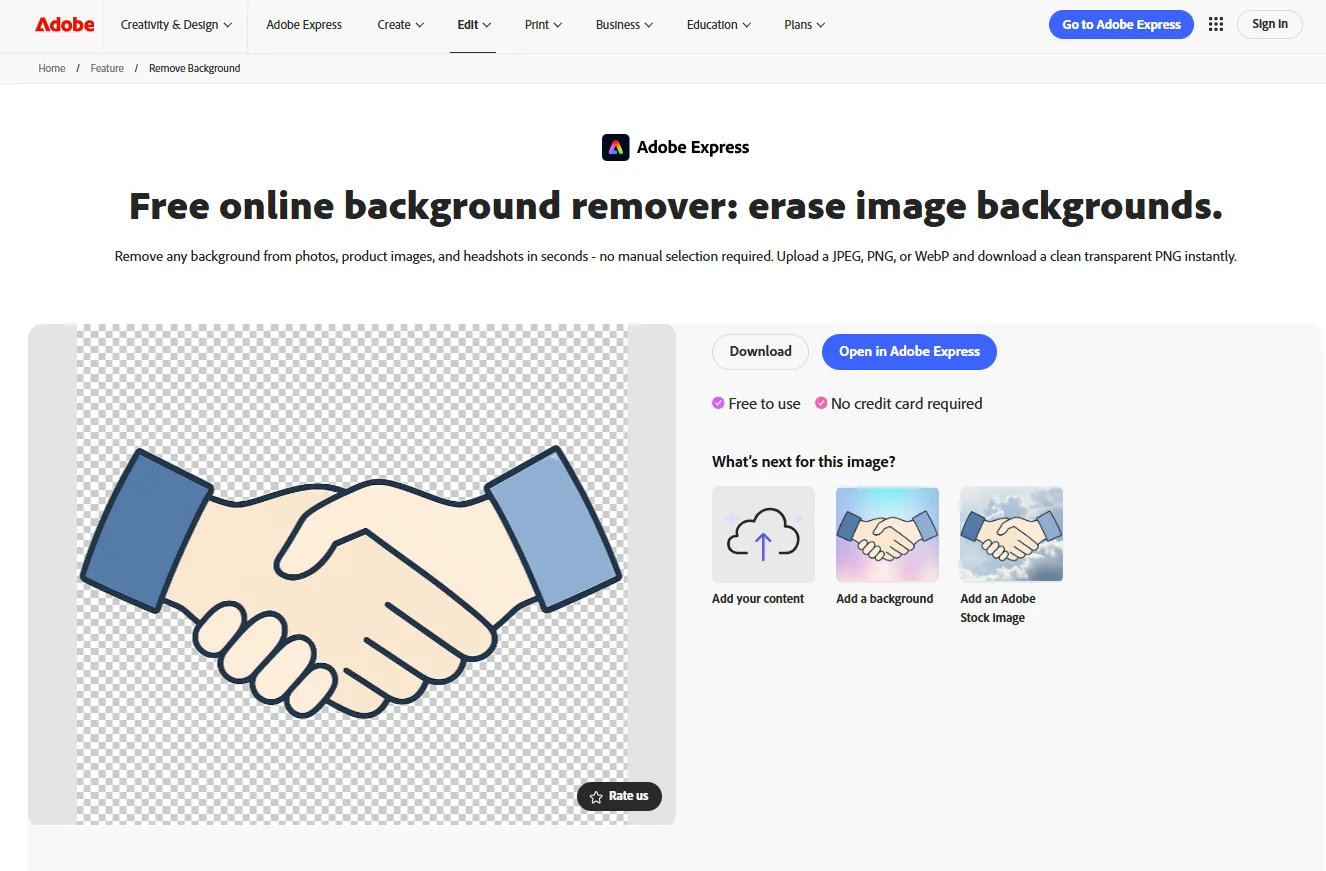
- Remove the background. Go to
adobe.com/express/feature/image/remove-background, click Upload your photo, choose your logo — it strips the background in a couple of seconds — then Download the transparent PNG. - Convert to SVG. Go to
adobe.com/express/feature/image/convert/svg, upload that transparent PNG (under 40 MB), wait a few seconds while it traces (the engine is Adobe Illustrator’s), and Download the.svg.
Either way, commercial use of your own uploaded logo is permitted — the finished SVG is yours to put on anything.
Two paid options, only if you want them
- Vectorizer.AI ($9.99/mo) — the pristine-trace upgrade. If your mark has subtle gradients or fine curves and you want the cleanest possible vector, it’s the quality leader. Cancel anytime.
- Recraft (~$10/mo) — the skip-the-conversion shortcut. Recraft can generate your logo directly as a native SVG, so there’s no tracing step at all. Its free tier gives you no commercial rights, though, so it’s only a real path if you pay — a paid-only option, not a free one.
The 10-second quality check
Before you call it done, prove the SVG is clean:
- Open the
.svgfile in a browser tab (drag it onto an empty tab). - Zoom way in. Crisp, clean edges everywhere = you’re done. Mushy, jagged, or blobby edges = the trace struggled.
Go back to the PNG and simplify it — fewer colors, flatter shapes — then re-convert. This is the sticker rule biting you: something in the mark was too detailed or too soft to trace. A cleaner input makes a cleaner SVG, every time.
A transparent PNG and a crisp, commercial-ready SVG on your computer — $0 spent, no editor opened. The SVG is your master file, the source everything else exports from. Next lesson: the full kit, the favicon, and the folder that’ll hold your whole brand.
Watch this step
Two short official walkthroughs, one per path: Kittl turning a logo into scalable vectors on a single canvas (the primary free route), and Adobe Express doing the free image-to-SVG conversion (the backup). It’s from an independent creator — credited below, so go give them a follow.
How To Quickly Vectorize Images With Kittl (New Vectorizer Tool)
How To Vectorize a PNG Logo with Inkscape
More learning resources
Still want another angle? These are hand-picked and vetted to line up with this lesson — from creators and sites worth your time.