
Module 5 · Fonts That Look Chosen, Not Defaulted
Test, pick, download from Google Fonts
Fonts lie in filler text and tell the truth in your business name. This last lesson is where you make each finalist prove itself on your words, force a decision, download the winner, and walk away with the one thing your website build actually needs: two font names.
The killer habit: type your own headline
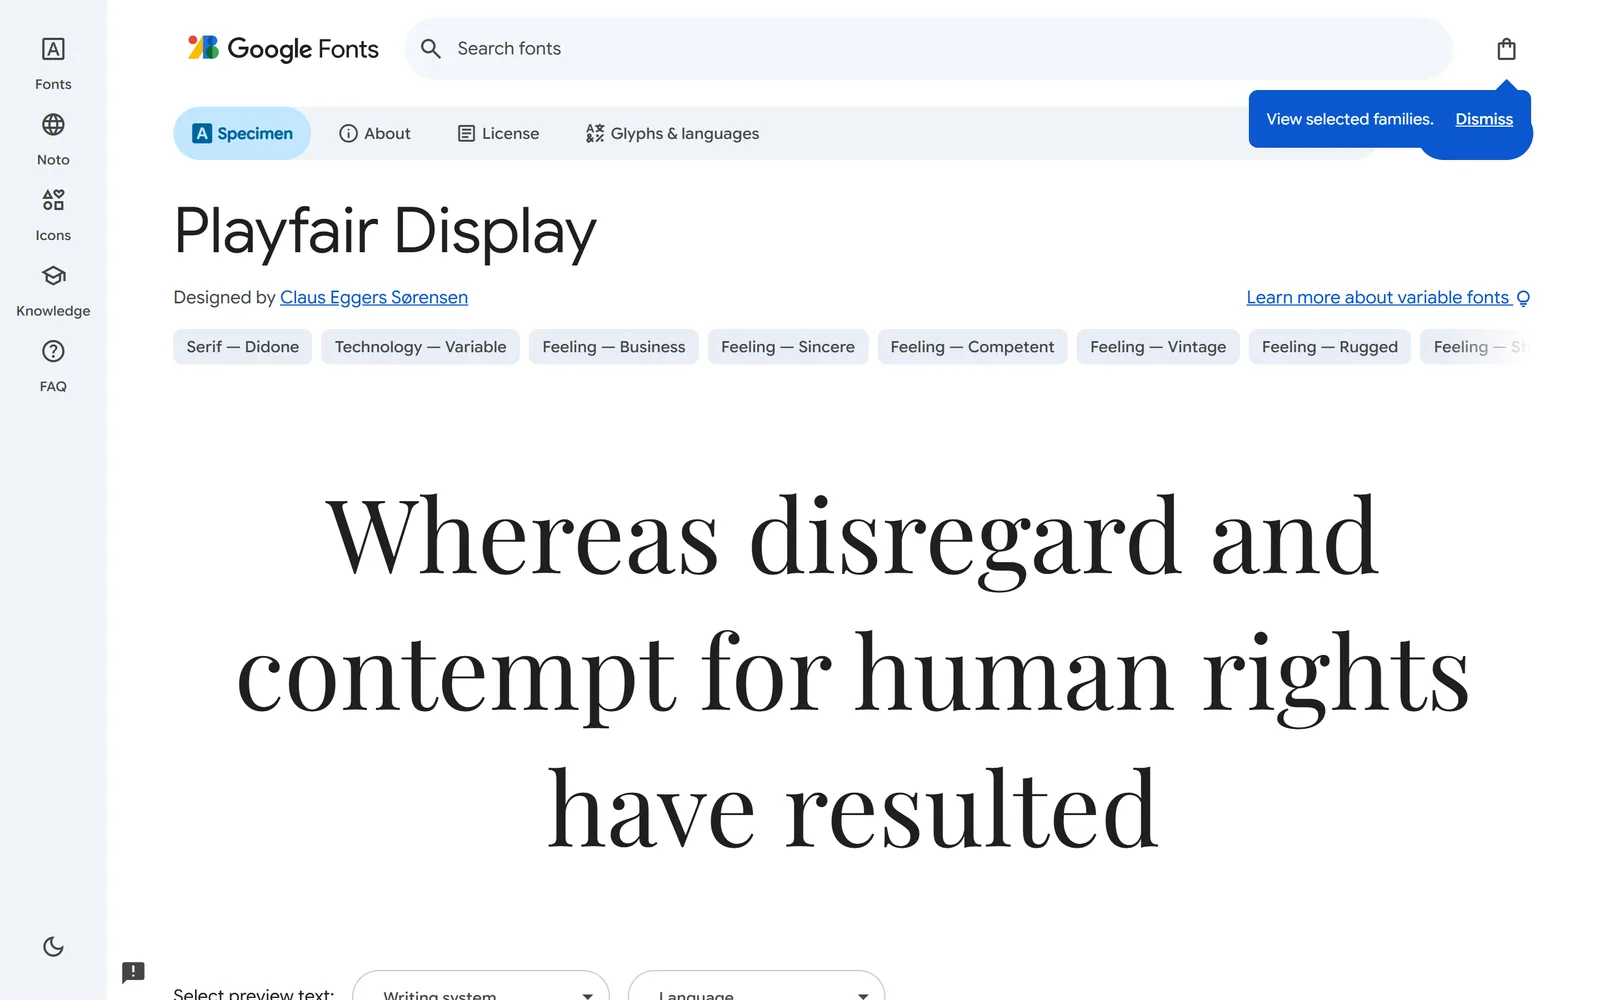
This single move decides better than any theory. On each finalist’s specimen page:
- Go to
fonts.google.comand search the font name. Click it to open its specimen page. - Delete the sample sentence in the big preview field and type your real headline — your business name, your actual tagline. Every weight on the page re-renders in your words instantly.
- Drag the size slider up to headline size and down to body size, so you judge each font the way your customers will actually meet it.
- To compare two fonts head-to-head, open each in its own browser tab with the same preview text in both — heading font in one tab, body font in the other. Flick between them.
Force the decision
Down to two and can’t choose? Make the AI commit — and tell you what you’d be giving up:
Copy this into ChatGPT / Claude
Here are my two finalist font pairings for a [business type] brand: [Pairing A] and [Pairing B]. You must choose one as the better fit and explain why in plain terms — readability of the body text, personality of the headings, and whether they feel like they belong together. Then tell me the one situation where the pairing you rejected would actually have been the better call.
Read it, but you hold the pen. If the reasoning matches what your own eyes saw on your headline, you’ve got your pairing.
Download from Google Fonts
- On your heading font’s specimen page, click “Get font” (top-right). It drops the family into a selection tray.
- Open your body font’s specimen and click “Get font” there too. They batch together.
- Click the tray / bag icon → “Download all.” Google bundles both families into a single
.zip. - Unzip it: Windows — right-click → Extract All; Mac — double-click.
- (Optional) Install for use in Canva or Docs: Windows — right-click a
.ttf→ Install; Mac — double-click the.ttf→ Install in Font Book.
For the website build you don’t need to install anything — you need the two exact font names (e.g. “Playfair Display” and “Lato”). Those two strings are what your build course drops straight into the design stage, and they’re what keeps your site on-brand from the first render. Record them.
File it in your Brand Package
- You tested each finalist on your own headline, not filler text.
- You compared the last two head-to-head in two tabs (and forced a call if needed).
- Both fonts are downloaded (and installed if you want them in Canva/Docs).
- The two exact font names are written in
fonts-and-links.txtin04-Colors-Fonts.
A chosen, downloaded pairing that looks right on your actual business name — and two font names recorded and ready to hand off. Those two names go straight into your website build. Logo, colours, fonts: three pieces of the package done. Next module, we make editing images feel just as easy.
Watch this step
The step beginners actually fumble is the install — unzipping the file and getting the font onto your system. This walks the download-and-install on both Mac and PC. (Google Fonts has since renamed the button to “Get font,” but the unzip-and-install steps are unchanged.) It’s from an independent creator — credited below, so go give them a follow.
How To Download A Font From Google Fonts | Complete Guide
More learning resources
Still want another angle? These are hand-picked and vetted to line up with this lesson — from creators and sites worth your time.